While using the preview builds of Windows 11, users encounter many problems. Many users have recently reported issues while accessing their hard disk drives. This is because Windows 11 is still being tested, and it’s not entirely free from bugs & glitches.
Some users have said that Windows 11 not recognizing hard disk drive, whereas others claimed that file explorer is showing errors while accessing specific drives. If you are experiencing such issues, you have landed on the right webpage.
How to Fix Hard Drive Problems on Windows 11
It’s pretty normal for Windows 11 users to face hard drive-related problems, but the good thing is hard drive problems can be fixed quickly, provided they don’t have hardware problems. Here, we have shared a few of the best ways to fix hard drive problems in the latest Windows 11. Let’s check out.
1. Run the Disk Error Checking Utility
Windows 11 has a Disk error checking utility that checks the drive for file system errors. The tool can quickly resolve problems such as the Drive taking a long time to open, the drive showing errors while accessing specific folders, etc. The tool will check and drive for file system errors and resolve them.
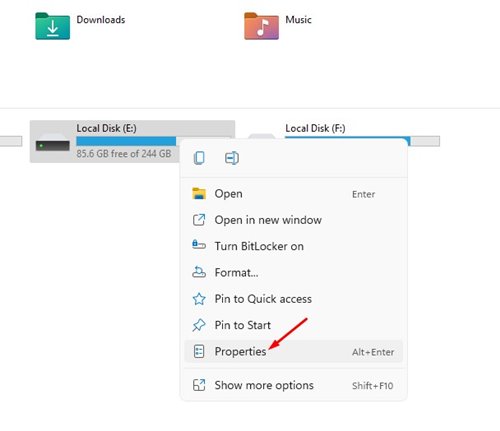
1. First, open File Explorer on your Windows 11 PC.
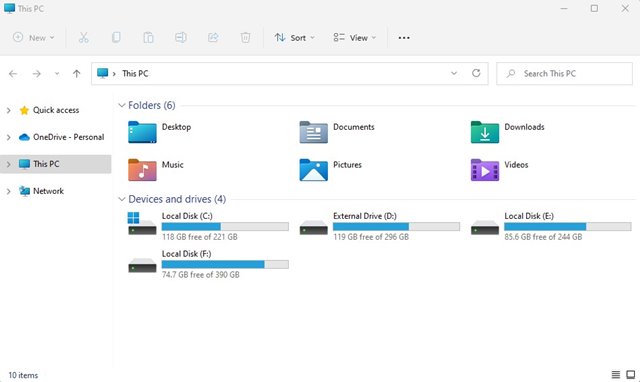
2. Next, right-click on the drive where you are experiencing a problem and select Properties.
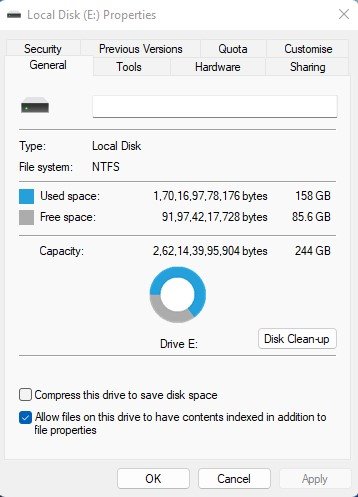
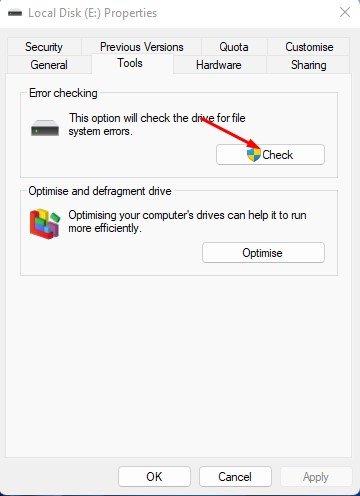
3. On the Properties Window, switch to the Tools tab.
4. Next, click on the Check button in the Error-checking section.
5. On the Error-checking utility, click on the Scan drive option.
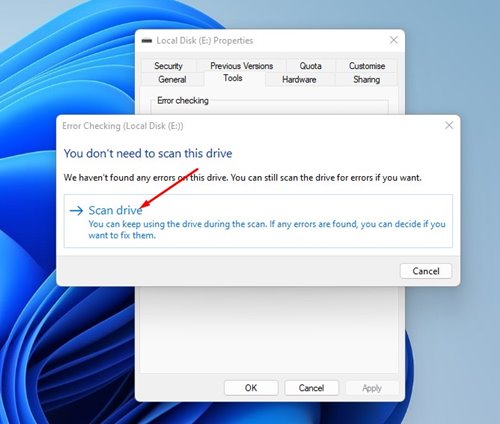
Now, the disk checking utility of Windows 11 will run and check the drive for file system errors. If it finds any problem, it will resolve it automatically.
2. Run the Check Disk (chkdsk) utility via Command Prompt
We will run the Windows 11 Check Disk utility via Command Prompt to find and fix hard drive errors in this method. Here’s what you need to do.
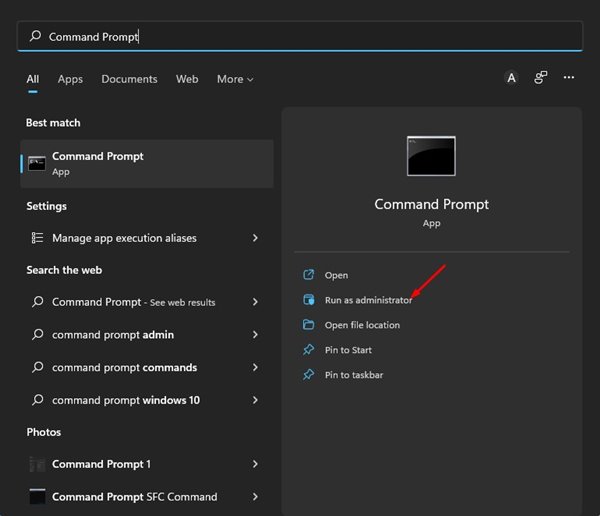
1. First, click the Windows 11 search and type in Command Prompt. Next, right-click on the Command Prompt and select Run as Administrator.
2. On the Command Prompt window, execute the command:
chkdsk /f c:
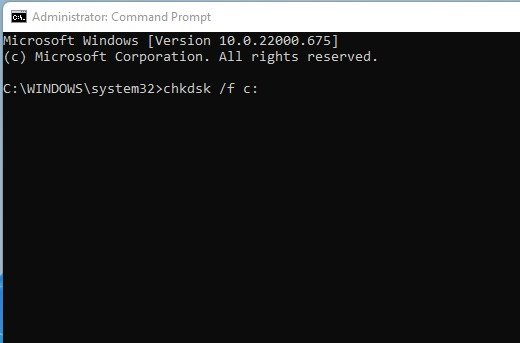
Important: replace c: with the drive letter you want to scan.
3. If you wish to fix bad sectors on the hard drive, you need to execute this command:
chkdsk /r c:
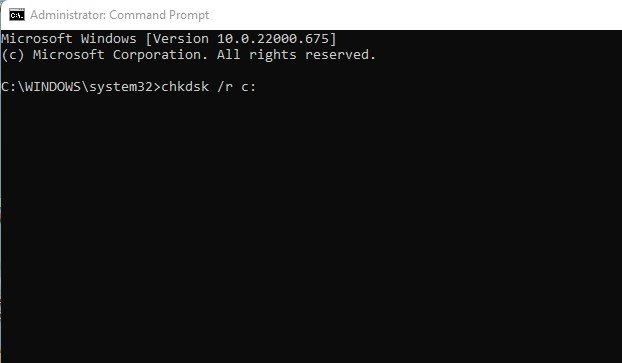
Make sure to replace c: with the drive letter you want to scan.
That’s it! The command prompt will run the chkdsk scan and fix hard drive problems on your PC. If it finds any bad sectors, you might be prompted to schedule a scan during the next restart. So, schedule the scan to resolve all sorts of hard drive problems on Windows 11.
3. Fix Hard Drive Errors on Windows 11 using PowerShell
PowerShell is another great utility that you can use to find and fix hard drive problems. Here’s how to fix hard drive issues on Windows 11 using the PowerShell utility.
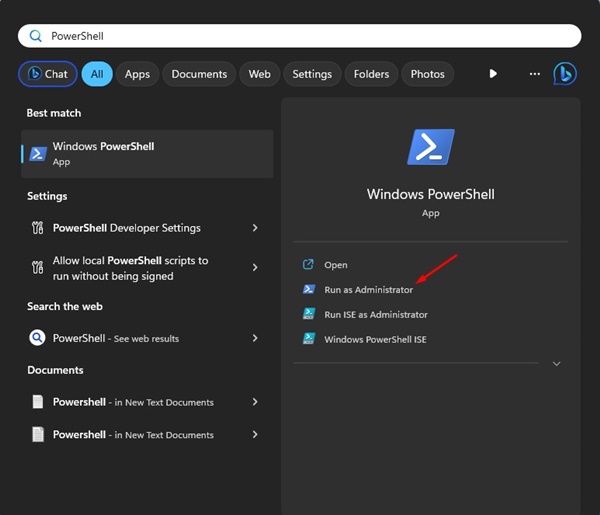
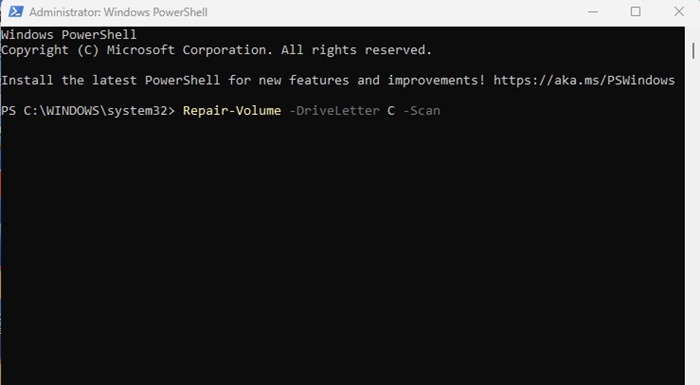
1. Click on Windows 11 search and type in PowerShell. Right-click on the PowerShell and select Run as Administrator.
2. When the PowerShell opens, type the command and press Enter.
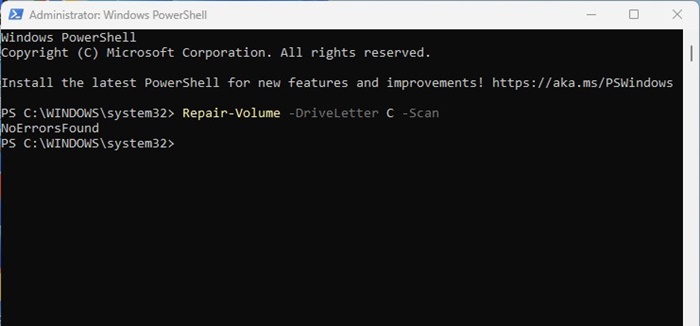
Repair-Volume -DriveLetter C -Scan
Important: Replace ‘C’ with the letter of the drive you want to scan
3. If the drive has no issue, you will see the NoErrorsFound message.
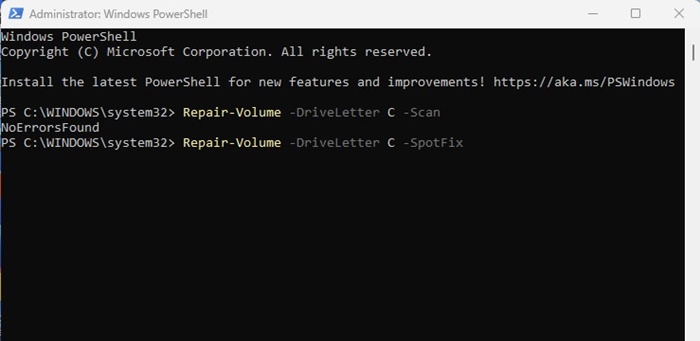
4. Now type in this command and press Enter.
Repair-Volume -DriveLetter C -SpotFix
Important: Replace ‘C’ with the letter of the drive you want to scan
That’s it! After executing the commands, close the PowerShell utility and restart your Windows 11 computer. This should fix hard drive issues.
4. Defragment the Hard Disk
The optimize drives tool of Windows is of great use since it helps your computer run more effeciently. This defragments your hard disk drive and resolves various drive-related problems.
However, defragmentation is not recommended if using an SSD, as it can shorten the lifespan. Here’s how to defragment the hard disk drive on Windows 11.
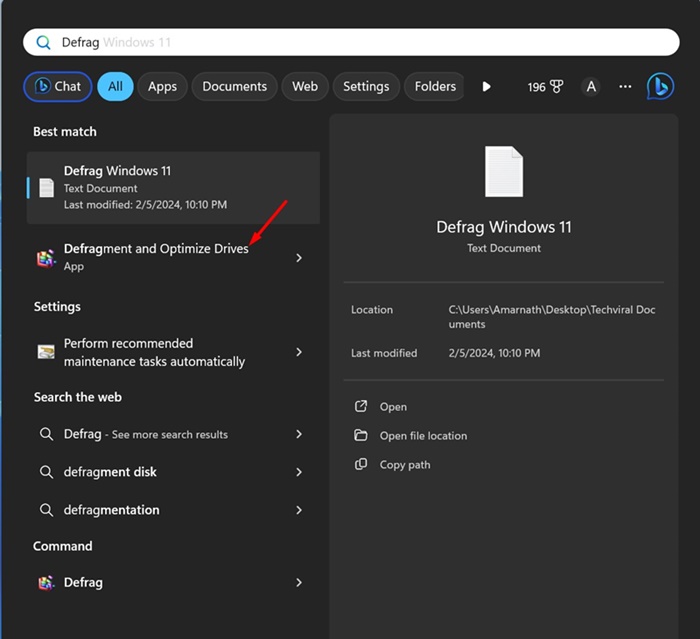
1. Type Defrag on the Windows 11 search. Next, open the Defragment and Optimize Drives app.
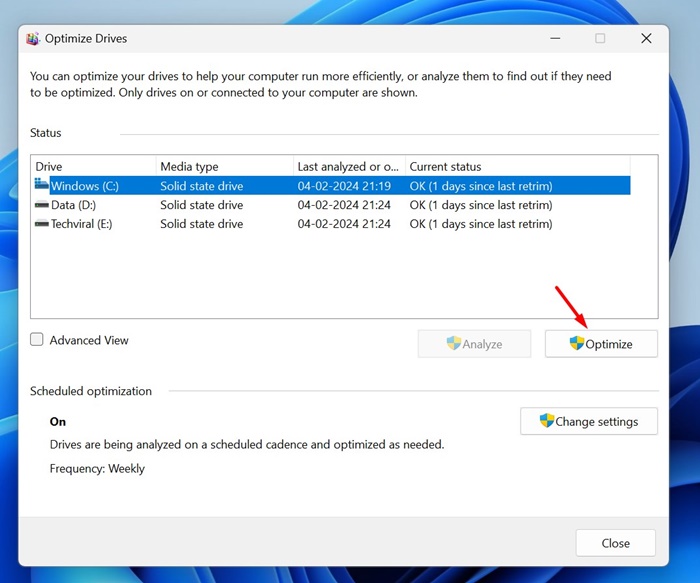
2. On the Optimize Drives Window, select the hard disk drive you want to trim down.
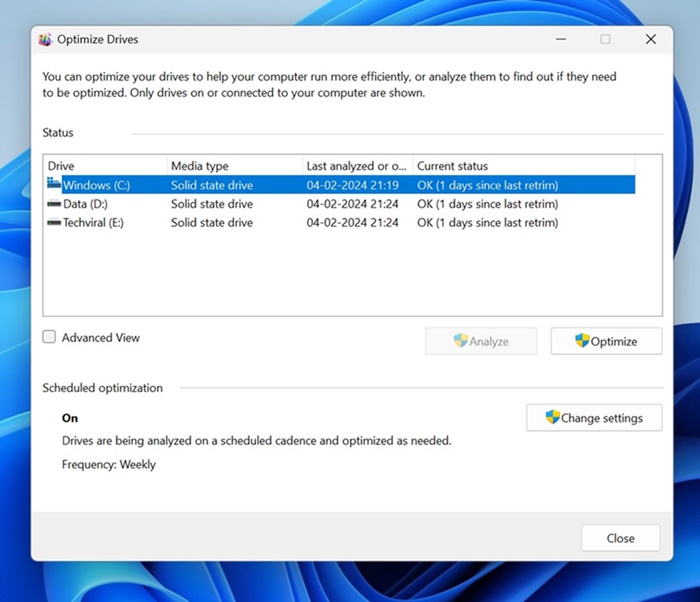
3. Once selected, click the Optimize button to defrag the drive.
That’s it! This is how you can defrag a hard disk drive on a Windows 11 computer to fix various hard drive problems.
5. Other ways to check & repair hard disk errors
If you still face hard disk problems on your Windows 11, it’s best to use a third-party error-checking utility.
Many third-party tools on the web utilize the Check Disk utility of your Windows 11 to find and fix various hard drive-related problems.
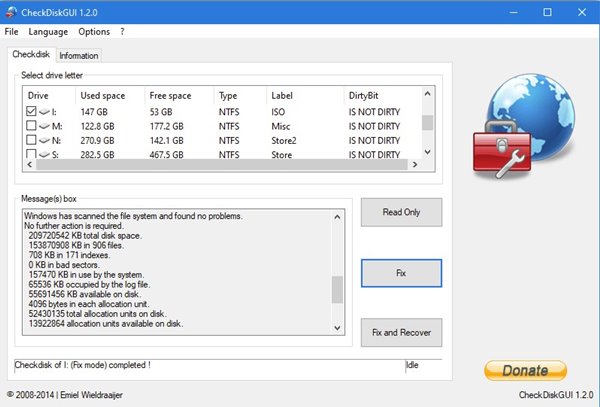
Hence, you can use tools to check & repair hard disk errors to get your hard drive problem fixed. However, download the tools from trusted sources and uncheck the bundled apps during the installation problems.
These are the best ways to scan and fix hard drive problems in Windows 11. If your hard drive has a hardware problem, you might need it replaced. Or, if it’s in the warranty period, you will have to take it to the local service center to get it fixed or replaced. If you know any other ways to fix hard drive problems on Windows 11, let us know in the comments.