If you are a tech geek, you may well be knowledgeable of Virtualization. Virtualization is a characteristic that allows people to run two or much more operating techniques on a solitary equipment.
However, virtualization is not as easy as you could believe it needs a devoted device and a equipment with Virtualization enabled. If Virtualization is enabled, you can use computer software like VirtualBox to develop a virtual ecosystem for jogging other running devices.
How to Check out if Virtualization is Enabled in Home windows 10/11
So, if you are interested in applying virtualization resources, you 1st will need to be certain that your Laptop has virtualization enabled. Here’s how to check out if Virtualization is enabled in Home windows.
Also Browse: Best No cost Windows 11 Themes, Skins & Icon Packs for Home windows 10
1. Utilizing Command Prompt
This method will use the Command Prompt utility to examine if Virtualization is enabled in Home windows. So, here’s how to use CMD to check for virtualization functions.
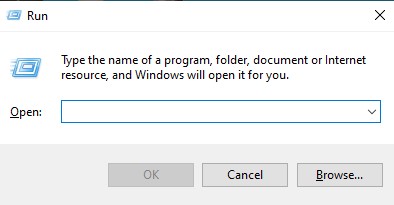
1. Very first, push Home windows Crucial + R on your keyboard. This will open up the Run Dialog box.
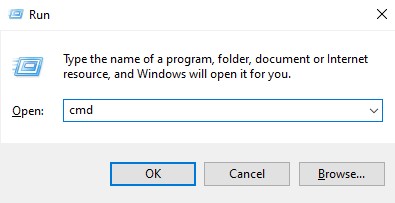
2. On the Run dialog box, enter cmd and push the Enter button.
3. Up coming, on the Command Prompt, style in systeminfo and push Enter.
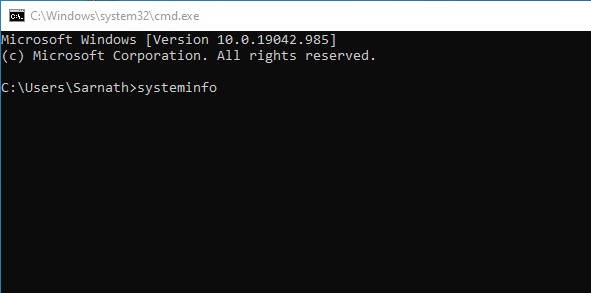
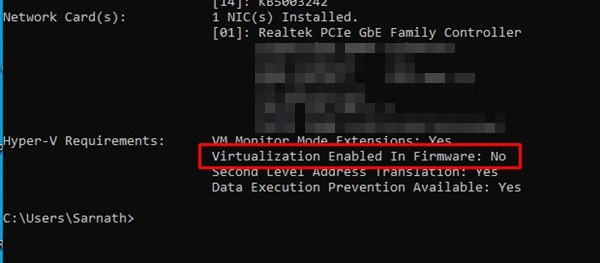
4. Beneath the Hyper-V needs, check out for Virtualization Enabled in the Firmware solution. If Virtualization is turned off, it will present you No. If it is enabled, it will screen Certainly
That’s it! You are completed. This is how you can test irrespective of whether Virtualization is enabled in Windows.
2. Utilizing Endeavor Manager
Perfectly, Home windows Endeavor Manager is the least complicated way to check out whether or not Virtualization is enabled or not. Here’s how to use Undertaking Manager to ensure the virtualization status in Windows.
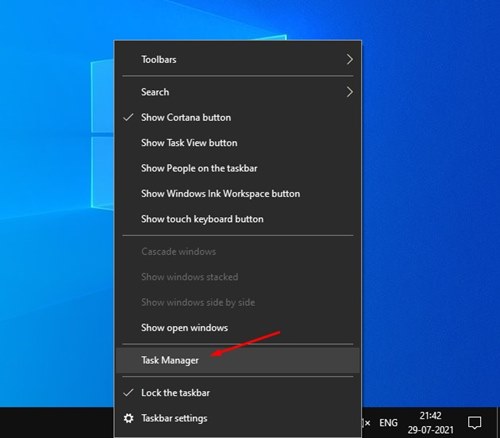
1. Right-simply click on the Taskbar and find Activity Manager.
2. This will open up the Process Supervisor. Up coming, decide on the Effectiveness tab.
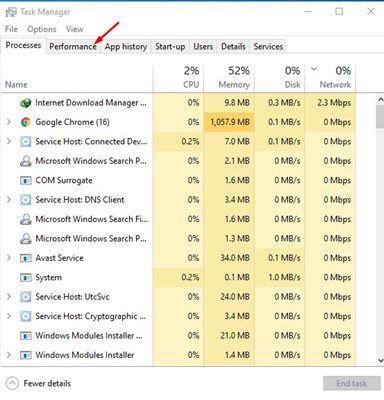
3. Subsequent, on the Functionality tab, pick the CPU option.
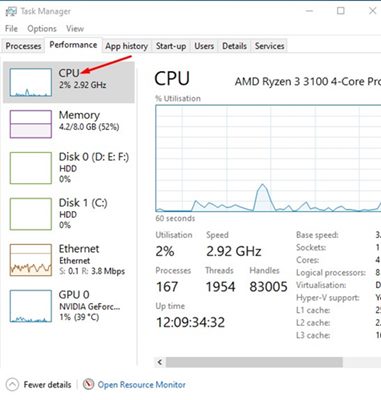
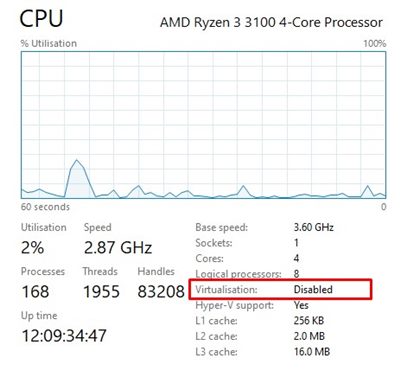
4. Following, on the correct side, obtain the Virtualization option. If it reveals Disabled, it means Virtualization is not enabled on your process.
That’s it! You are finished. This is how you can use Activity Manager to verify the Virtualization status in Windows.
3. Examine if Virtualization is Enabled Making use of PowerShell
You can also use Windows PowerShell to test if Virtualization is enabled on Windows 10/11. The command to look at the HyperV Status is unique here’s what you want to do.
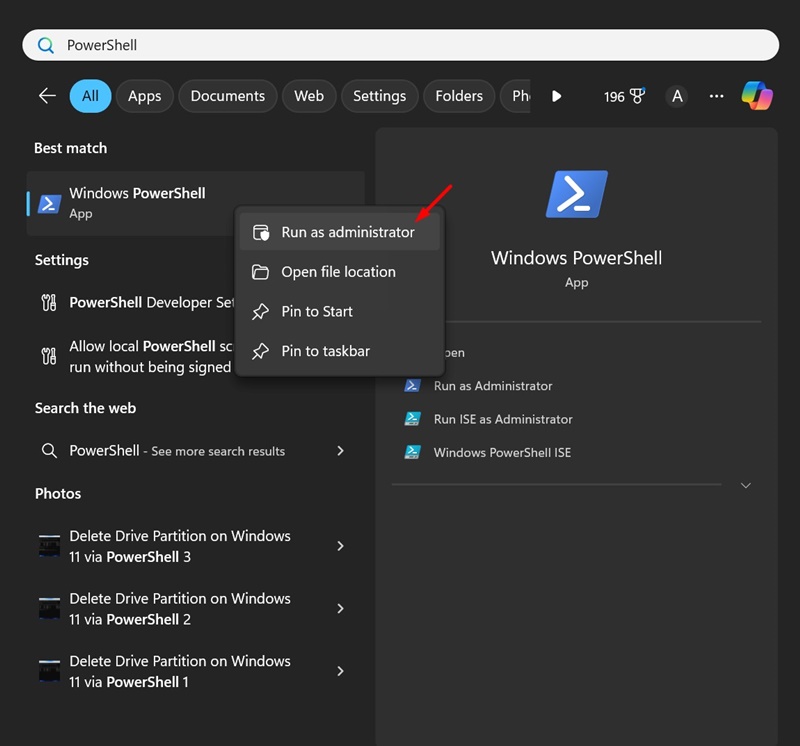
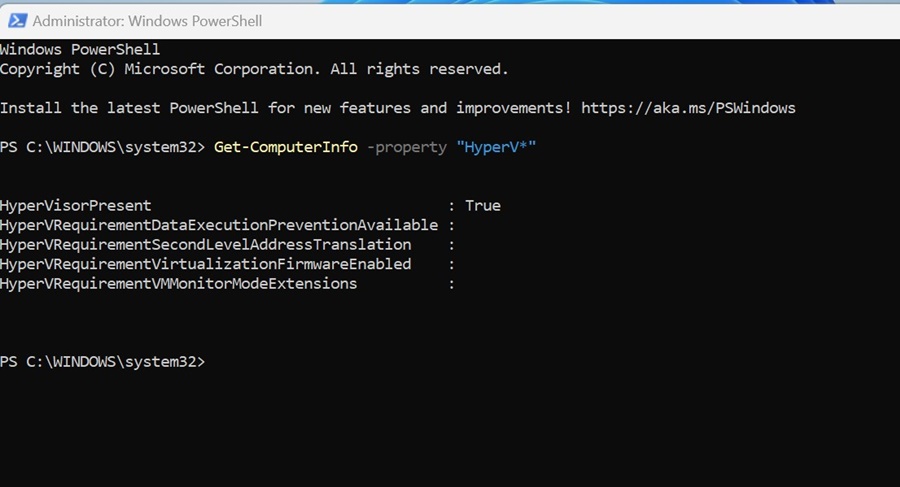
1. Kind in PowerShell in the Windows Lookup. Following, ideal-click on PowerShell and choose Run as Administrator.
2. When the PowerShell utility opens, execute the offered command:
Get-ComputerInfo -assets "HyperV*"
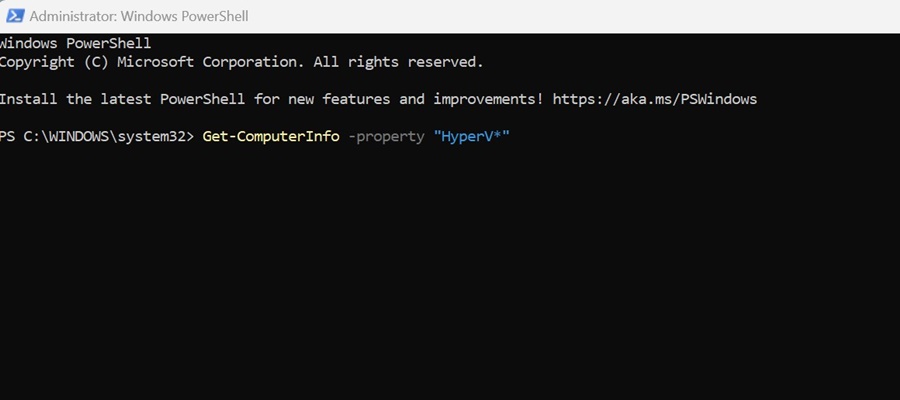
3. Now, you need to search at the position of HyperVisorPresent. If it says Genuine, it means virtualization is enabled. If the position reveals ‘False’, it suggests Virtualization is disabled on Home windows.
That is it! This is how you can examine if Virtualization is enabled on Windows Computer system.
If Virtualization is disabled, enter the BIOS location and look at the CPU part. On the CPU area, you have to have to identify and permit the Virtualization selection. At the time enabled, you can use Digital equipment systems.
So, this manual is all about checking if Virtualization is enabled or not in Windows 10. I hope this report assisted you! Remember to share it with your friends also. If you have any uncertainties, enable us know in the comment box beneath.